How to Plant Celery Seeds A Comprehensive Guide
Celery Seed Starting: A Comprehensive Guide
How to plant celery seeds – Starting celery from seed can be a rewarding experience, offering a unique connection to your food source. This guide provides a step-by-step approach, ensuring successful germination and healthy growth, leading to a bountiful harvest of crisp, flavorful celery.
Celery Seed Starting: Preparation
Successful celery cultivation begins with proper preparation. This involves creating the ideal environment for germination, selecting the right soil, and choosing appropriate containers.
Ideal Conditions: Celery seeds require specific conditions for optimal germination. A temperature range of 65-75°F (18-24°C) is ideal, along with consistent moisture and bright, indirect light. Direct sunlight should be avoided, especially during the seedling stage, as it can scorch delicate leaves.
Soil Mix Preparation: A well-draining, fertile soil mix is crucial for healthy celery seedlings. The mix should retain moisture but not become waterlogged. A combination of peat moss, vermiculite, and perlite provides excellent drainage and aeration.
| Soil Mix | Peat Moss (%) | Vermiculite (%) | Perlite (%) |
|---|---|---|---|
| Mix A | 50 | 25 | 25 |
| Mix B | 40 | 30 | 30 |
| Mix C (Commercial Seed Starting Mix) | Variable | Variable | Variable |
Seed Starting Containers: Choose containers with drainage holes to prevent waterlogging. Seed starting trays with individual cells are ideal, allowing for easy transplanting. Alternatively, small pots or biodegradable peat pots can be used. Ensure the containers are clean to prevent fungal diseases.
Sowing Celery Seeds
The process of sowing celery seeds requires care and attention to detail to ensure a high germination rate. Gentle handling is key, as celery seeds are small and delicate.
Sowing Method: Sow celery seeds about ⅛ inch deep and spaced approximately ½ inch apart. Gently press the seeds into the soil, avoiding burying them too deeply. Lightly cover the seeds with the soil mix. Avoid overcrowding, as this can hinder growth and increase the risk of disease.
Maintaining Soil Moisture: Consistent soil moisture is crucial for germination. Water gently from the bottom using a tray filled with water, allowing the soil to absorb moisture through capillary action. Avoid overhead watering, which can wash away seeds or cause damping-off.
Addressing Challenges: Damping-off, a fungal disease, is a common problem. It causes the seedlings to wilt and die near the soil line. Good ventilation and avoiding overwatering can prevent damping-off. If damping-off occurs, remove affected seedlings and treat the remaining seedlings with a fungicide following label instructions.
Celery Seedling Care

Source: harvesttotable.com
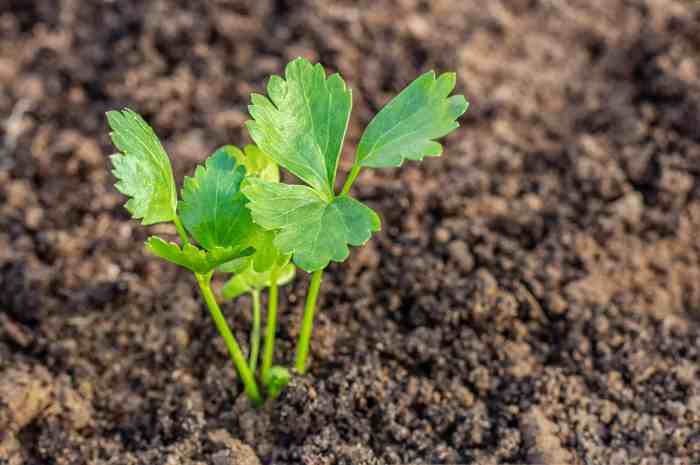
Starting celery seeds involves preparing well-draining soil and sowing seeds thinly. Similar careful attention to detail is needed for other plants; for instance, you might find the process described in this guide on how to plant chrysanthemum seeds helpful. Understanding the basics of seed sowing, such as proper depth and spacing, will improve your success rate with celery, just as it does with chrysanthemums.
Providing supplemental light, proper ventilation, and appropriate fertilization are essential for healthy celery seedling development. Careful monitoring and timely interventions are key to success.
| Growth Stage | Daily Light Requirement (Hours) | Light Type |
|---|---|---|
| Germination to 2 weeks | 12-14 | Fluorescent or LED grow lights |
| 2-4 weeks | 14-16 | Fluorescent or LED grow lights |
| 4+ weeks | 16+ (with natural light supplement) | Fluorescent or LED grow lights |
Ventilation: Good air circulation is essential to prevent fungal diseases. A simple ventilation system can be created by placing a fan near the seedlings, ensuring gentle airflow without directly blowing on the plants. Avoid stagnant air, which can promote fungal growth.
Nutrient Deficiencies: Signs of nutrient deficiencies include yellowing leaves, stunted growth, or discoloration. Regular fertilization with a balanced liquid fertilizer diluted to half strength is recommended, following the manufacturer’s instructions. Avoid over-fertilizing, which can damage the seedlings.
Transplanting Celery Seedlings
Transplanting celery seedlings requires careful handling to minimize transplant shock and ensure continued growth. The timing and method of transplanting depend on several factors, including the size of the seedlings and available space.
Ideal Timing: Transplant seedlings when they have developed several true leaves (typically 4-6 weeks after germination) and are about 2-3 inches tall. The soil should be warm and the weather mild.
Transplanting Steps:
- Gently loosen the soil around the seedlings.
- Carefully remove the seedlings from their containers, avoiding damage to the roots.
- Plant the seedlings in their new location at the same depth they were growing in the seed tray.
- Firmly press the soil around the seedlings to ensure good contact with the roots.
- Water thoroughly after transplanting.
Transplanting Methods: Seedlings can be transplanted into individual pots (6-8 inches in diameter) before transplanting outdoors or directly into the garden. Individual pots allow for better root development and minimize transplant shock. Direct sowing into the garden requires more space and careful spacing.
Growing Celery Outdoors, How to plant celery seeds

Source: tipsbulletin.com
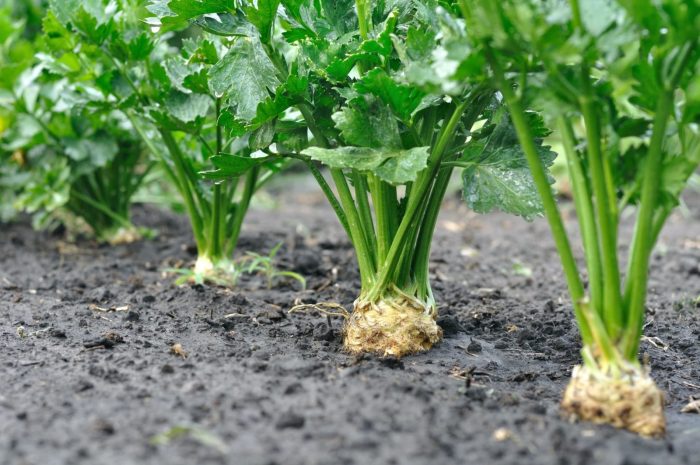
Growing celery outdoors requires providing optimal soil conditions, adequate spacing, and protection against pests and diseases. Careful planning and monitoring are key to a successful outdoor celery crop.
Ideal Soil Conditions: Celery prefers well-drained, fertile soil with a slightly acidic pH (6.0-6.8). Amend heavy clay soils with organic matter such as compost to improve drainage and aeration. Sandy soils may require the addition of organic matter to retain moisture.
Spacing: Adequate spacing between celery plants is crucial for optimal growth and prevents overcrowding. Spacing varies depending on the celery variety; typically, 6-12 inches apart is recommended. A diagram illustrating appropriate spacing would be helpful (imagine a diagram showing rows of celery plants with measurements between them).
Pests and Diseases: Celery is susceptible to several pests and diseases, including aphids, slugs, leaf spot, and blight. Regular monitoring for pests and diseases is important. Preventative measures include proper spacing, good air circulation, and crop rotation. Treatment options include organic pest control methods and fungicides (following label instructions).
Harvesting Celery

Source: co.uk
Harvesting celery involves recognizing maturity signs and employing appropriate techniques to ensure the highest quality and freshness. Proper storage techniques are crucial to extend the shelf life of your harvested celery.
Signs of Maturity: Celery is ready for harvest when the stalks are fully developed and firm. The stalks should be approximately 6-8 inches in diameter, depending on the variety. The leaves should be a deep green and healthy.
Harvesting Methods: Celery can be harvested by cutting the stalks at the base of the plant, leaving some leaves intact for continued growth. Alternatively, individual stalks can be harvested as needed. For leaf celery, harvest the leaves as they mature.
Storage: Store harvested celery in a plastic bag in the refrigerator. Celery can also be blanched and frozen for later use. Proper storage helps maintain the celery’s crispness and flavor.
FAQ Summary: How To Plant Celery Seeds
Can I start celery seeds outdoors?
While possible in warmer climates, starting celery seeds indoors is generally recommended for better germination rates and control over environmental factors.
How long does it take for celery seeds to germinate?
Germination typically takes 1-3 weeks, depending on conditions. Warmth and consistent moisture are crucial.
What should I do if my celery seedlings are leggy?
Leggy seedlings indicate insufficient light. Increase light exposure or move seedlings closer to a light source.
My celery seedlings have damped off. What can I do?
Damped-off is a fungal disease. Improve air circulation and avoid overwatering. Consider using a fungicide as a last resort.


